Written in Chinese, translated by Claude Sonnet 4.5. Video not translated.
I recently decided to create a series of game development process recordings - basically screen recording several typical workflows from making “Escape Everlit”, editing and organizing them, and producing both text and video versions. The main purposes are: first, to archive and document this process, which will be interesting to look back on; second, I’ve been buried in development rushing to meet deadlines lately, and I feel I should occasionally come out and establish some presence… I honestly don’t know how to market a niche mystery narrative text-based game: all the fun parts are embedded in the story, but plot settings are hard to explain without spoilers. Personally, I also dislike creating mysterious clickbait gimmicks. In short, it’s quite a headache.
Today’s production is about “scene art.” The example is a very simple short path connecting two major scenes - a seaside walkway on Everlit Island. Content overview:
- Creating and selecting images with Midjourney
- Editing and layering images in Photoshop
- Using Spine to animate tree branches and leaves swaying in the wind
- Adding 2.5D parallax (sky, clouds, foreground)
- Setting level parameters (character scale ratio, movement boundaries, entrances/exits, etc.)
- Water and sunlight visual effects (shader code modified by Claude)
The video version is 3 minutes 45 seconds, using time-lapse recording to document the process from steps 3 to 6 (two and a half hours of real time). The first two steps combined also took about 2-3 hours, which I didn’t record. The video shows animation effects more clearly, while the text version will have more explanations. Writing the article and making the video took over seven hours… Some sincere putting-the-cart-before-the-horse dedication for you all.
The steps in this episode just roughly build up this simple scene; there’s much that can be polished - this is not the finished product.
Video Version
Text Version
Image Assets Generation
Midjourney prompt as follows. Content in square brackets is specific to this scene, the two style references are images from previous iterations, everything else is the template for generating scenes in this game:
2d side scrolling game parallax background scene, left to right horizontal panoramic view, frontal angle, uniformly staged. [Tiny island rocky beach. Close-up narrow rocky shoreline scene with stone steps ascending the cliff face. Crystal-clear turquoise waters with gentle sun reflections rippling on the surface. Sparse coastal vegetation and small trees clinging to the rocky outcrops. Minimalist modern architecture partially visible at the top of the frame.] Digital anime illustration, subtle sci-fi, sharp clean stroke outlines, expressive brushstrokes, solid bold rich colors, natural white balance, highly detailed textures. –ar 7:3 –sref https://s.mj.run/aaa https://s.mj.run/bbb –v 6.1
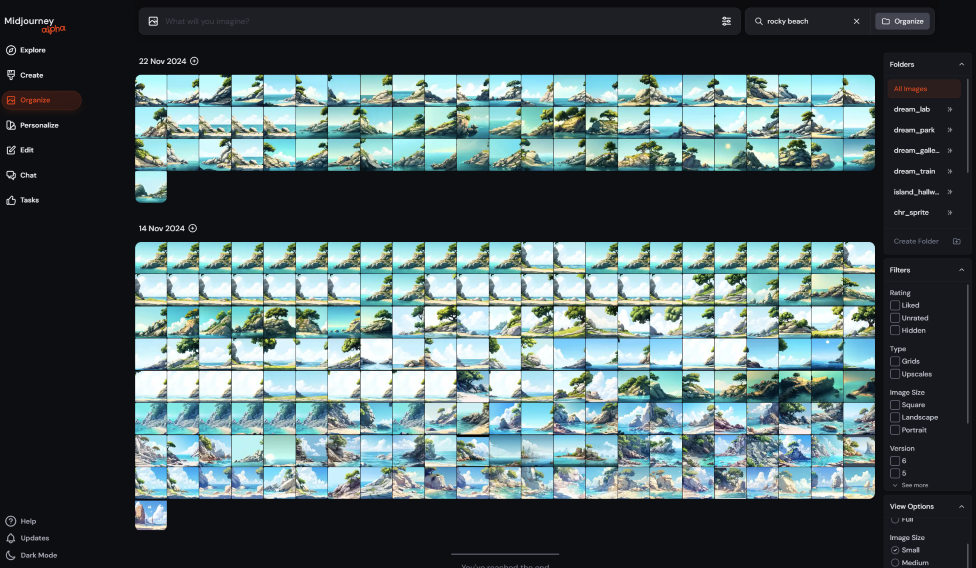
After several iterations, roughly 240 images were generated:
Some rejected ones that overall felt decent:
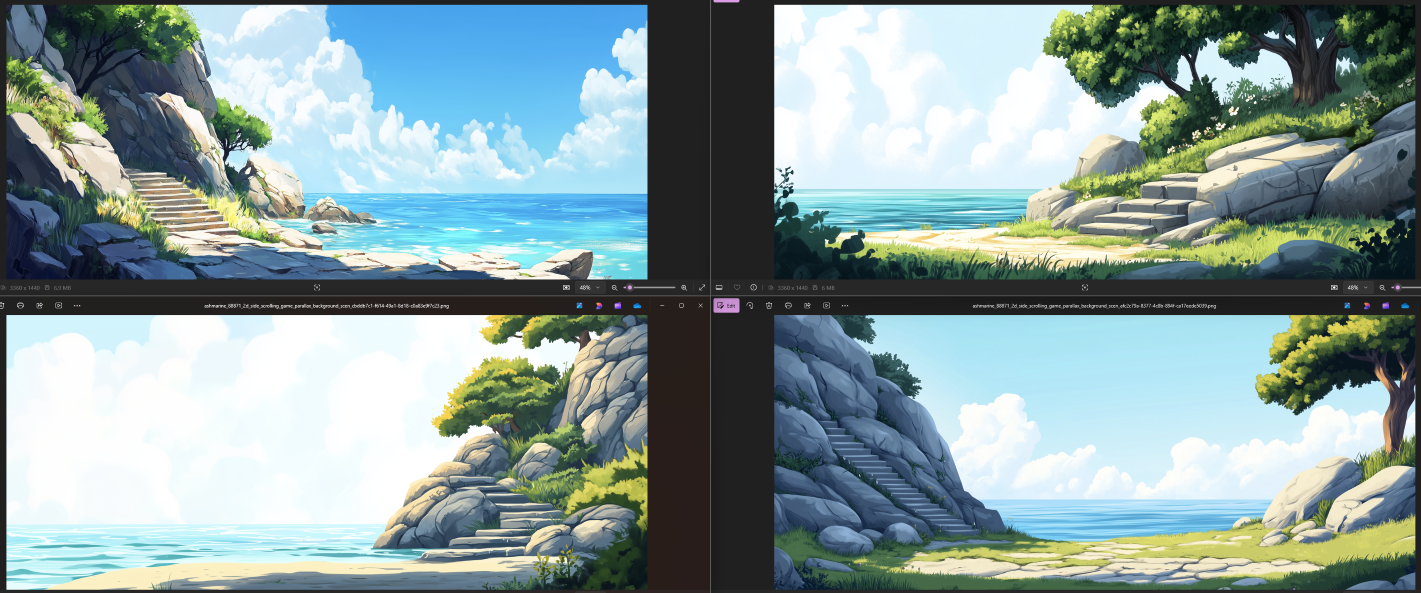
Since this is a connecting scene, besides being aesthetically pleasing and stylistically consistent, some orientations and details need to roughly match the scenes on both sides (terrain elevation). The final selection is this one:
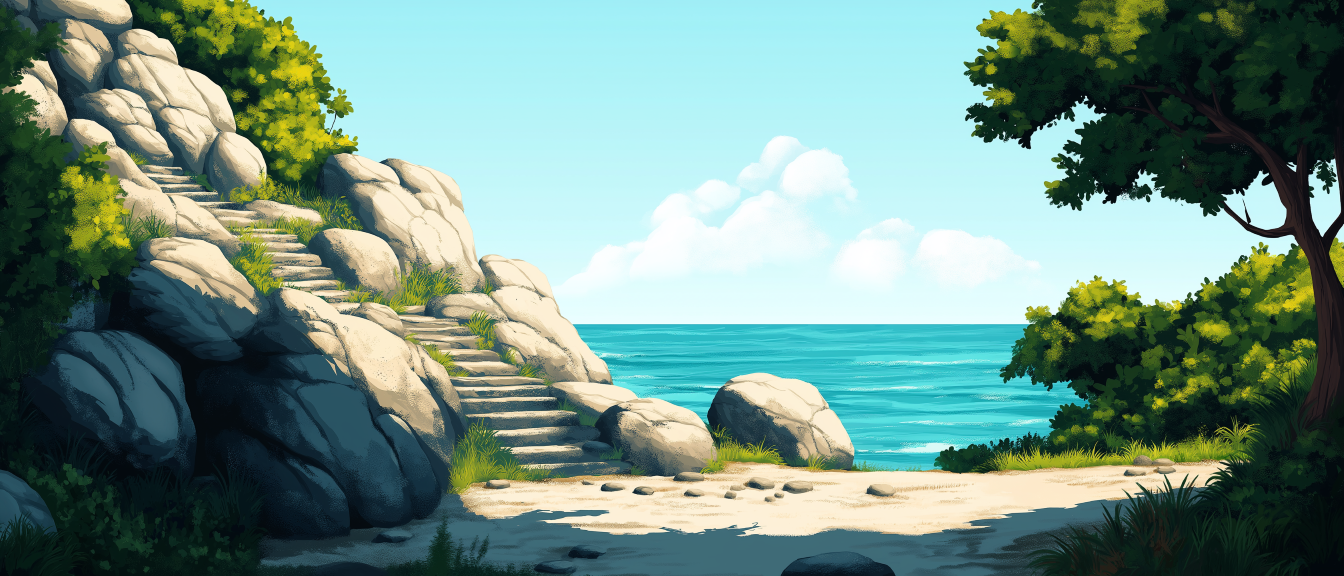
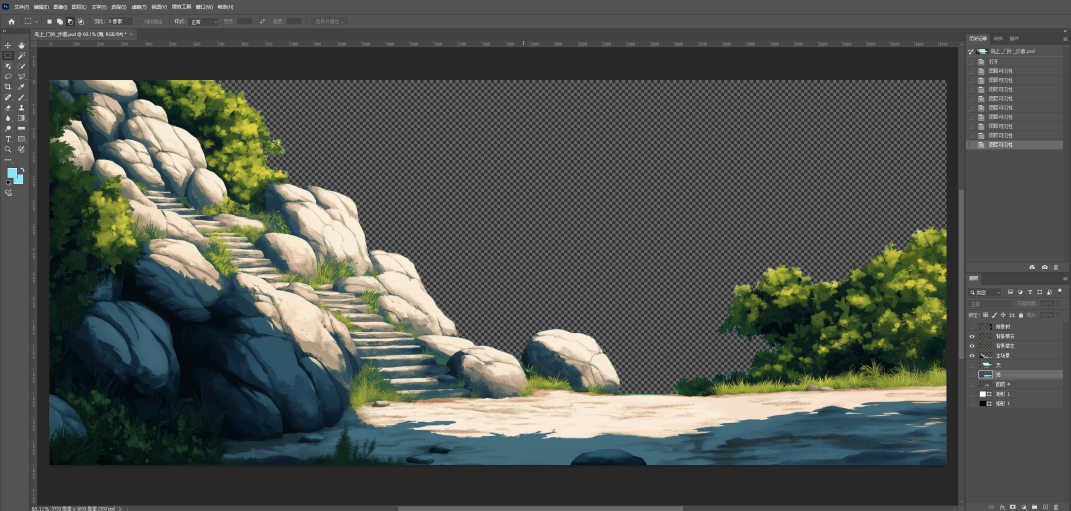
Image Editing and Layering
Compared to character art, scene art requires relatively fewer modifications:
- Photoshop’s selection tools are convenient; I generally use its generative fill to correct small details in the original image. For major issues, I still go back to Midjourney
- Manually adjust color balance layers or use AI-assisted smart filters to make the image’s color scheme consistent with neighboring scenes
- Manually separate the image into foreground/background layers and use AI to fill in the obscured parts behind. This is the most time-consuming step and should be better automated in the future
This image happened to have relatively simple content and visual structure, generated quite appropriately, so the modifications were lightweight, and the before-and-after comparison isn’t very obvious: (the sea portion was replaced with a previous image):
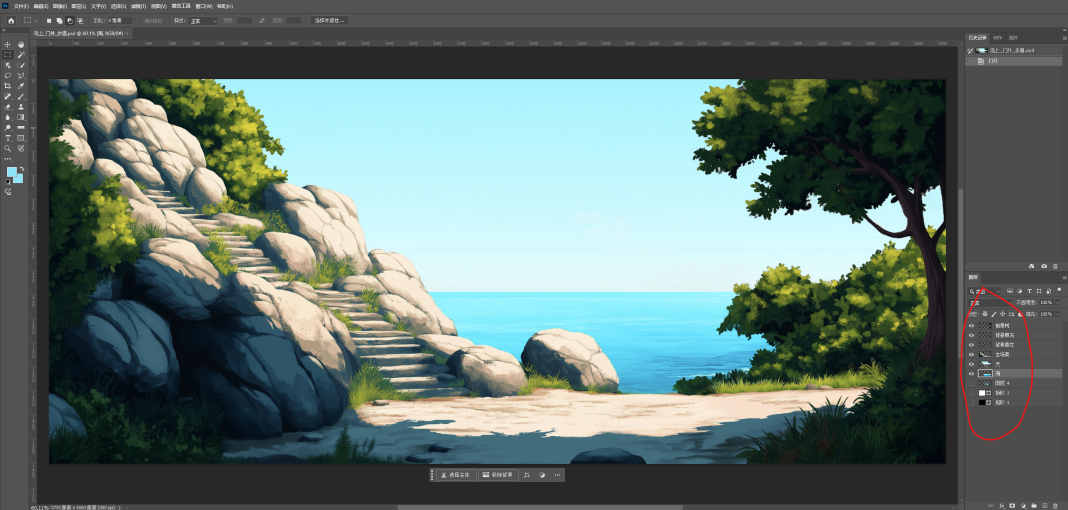
Partial layers:
Scene Animation
If it’s an indoor static scene, this step isn’t needed. The wind on the island isn’t strong, but outdoor leaves still need to subtly flutter. While some shaders can achieve the same effect, since I already bought Spine for character animation, I can use a sledgehammer to crack a nut.
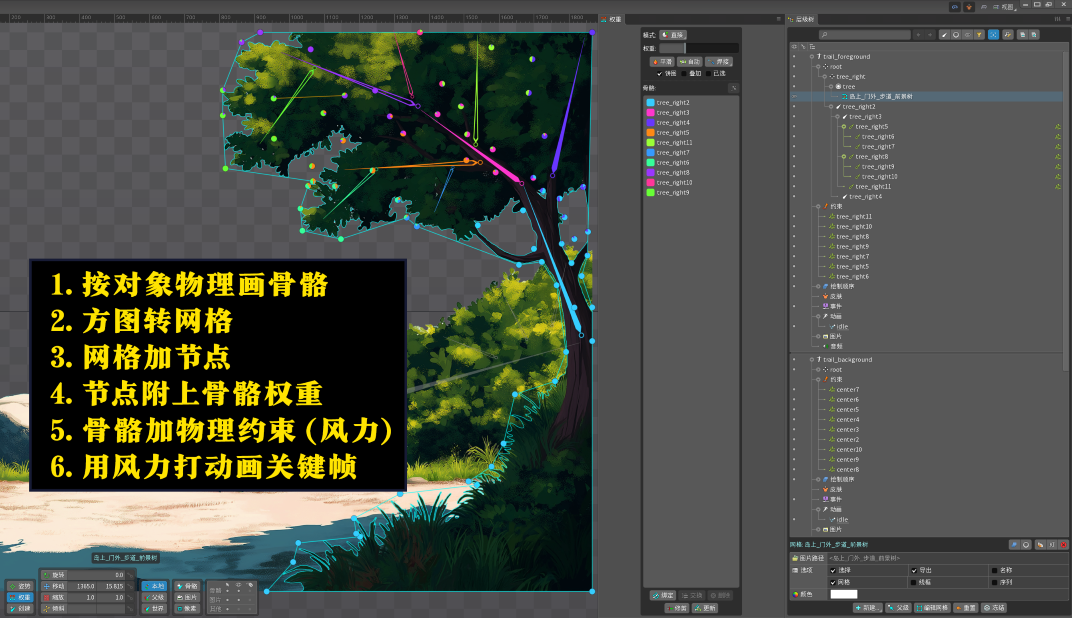
The animation effect will be much clearer and more detailed in the video, but the text version can explain the principles behind Spine animation creation:
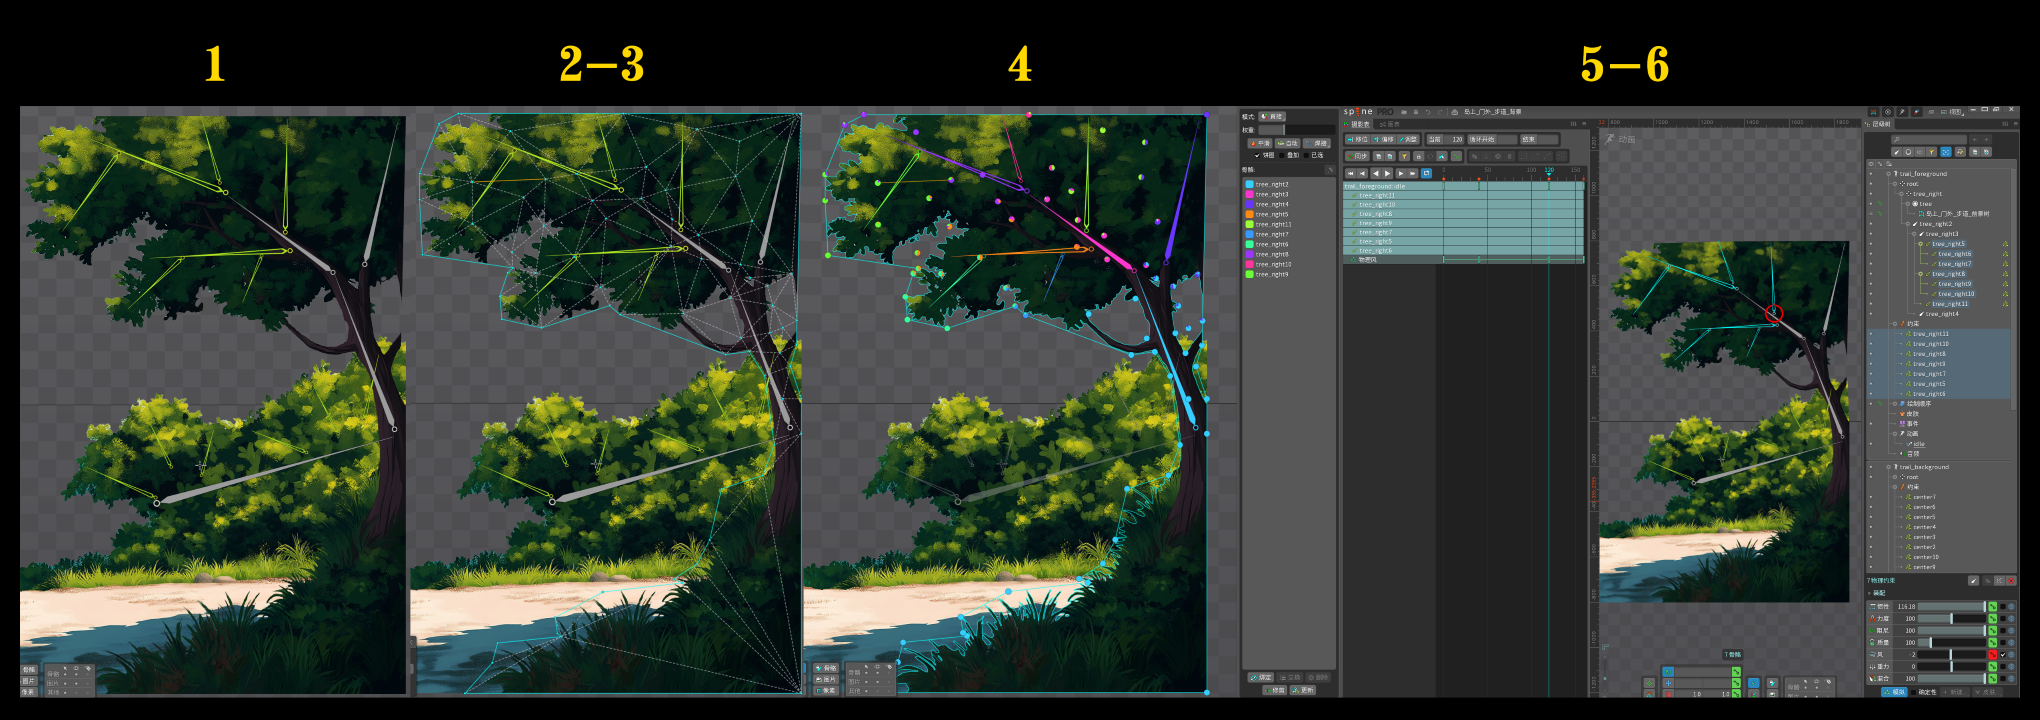
- To make leaves appear to move naturally, we first mark the skeleton, roughly describing the tree’s physical structure
- Square transparent PNG images are converted into mesh images, i.e., preserving only the pixel outline actually occupied by the object
- The number of nodes inside the mesh determines the “softness” when the image deforms, equivalent to creases when folding paper - more nodes mean more flexibility
- Directly manually changing node positions to generate deformation animations would be too cumbersome, so we bind “soft” nodes to “rigid” bones. This way, when animating, we only need to move a few key bones of the object to make all nodes move together. A node can be influenced by multiple bone movements, equivalent to the front hem of a skirt being simultaneously affected by the positions of both legs. This can create soft material physical deformation effects
- For character animation, we can generally start manipulating bone positions to create pose keyframes. But here we’re making wind-blown leaf animation. Spine has a physics engine feature, and wind force is one of them. When simulating a horizontal wind, all bones subject to physical constraints will be “blown” simultaneously. Adding different inertia and resistance values to bones at different positions can simulate realistic wind forces.
- Because of the many layers of abstraction done above, the final animation keyframes only have wind force as a single property. From 0 to +2 to -2 and back to 0, a total of 160 frames of swaying loop animation.
Inserting Art Assets into Game Parallax Layers
Escape Everlit is a 2D game using 2.5D parallax effects. Parallax effect means that layers farther away on the screen (sky/sea/clouds) will leave more slowly than layers closer (ground/rocks/bushes) when the character moves, creating an illusion of perspective. Similarly, objects closer to the camera than the character (nearby trees) will leave faster.
Some of the previous Photoshop layers have already been imported into Spine for animation. Layers without animation are imported into the game engine as regular PNGs. Godot will insert these image nodes into multiple parallax nodes (ParallaxLayer), each of which can adjust depth relationships and auto-scroll effects (clouds drift slowly over time):
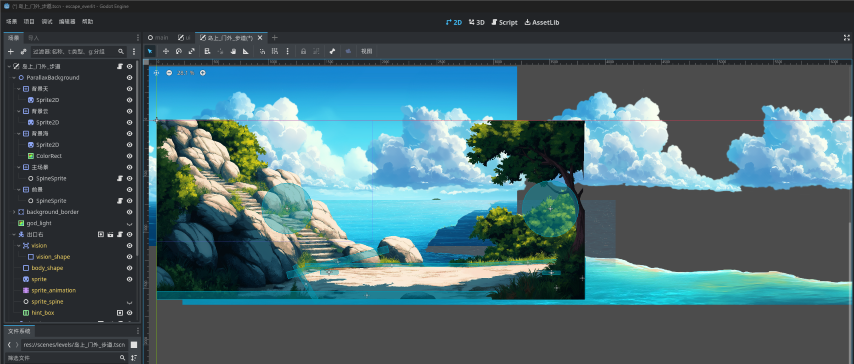
The sea here temporarily uses an old image, so the shape is a bit strange. The cloud node has been duplicated once because clouds need to scroll infinitely in a loop.
Sharp-eyed friends will notice some transparent blue shapes have been added to the scene. Rectangles are obstacles controlling character movement collision, i.e., invisible walls. Circles are listeners used in the game to determine when characters approach and display interaction buttons - there’s an exit button on each side of the scene.
Some level parameters also need adjustment, such as character near-large far-small scaling, BGM sound effects, footstep sound effects, etc., which I won’t detail.
Scene Visual Post-Processing: Shaders
The “hardware part” of this simple scene is roughly done, but it still lacks dynamic effects like lighting and shadows. This is an outdoor scene with strong sunlight, not requiring much artificial light sources to create local atmosphere. I’ll discuss the lighting system part when recording the character art creation workflow next time, as it involves normal maps. This game adopts fake shadow textures under character feet because true 2.5D physical shadows using lighting are too difficult… It feels like introducing 3D lighting and occlusion would be needed to make it natural, and I’m not yet prepared to enter 3D game development.
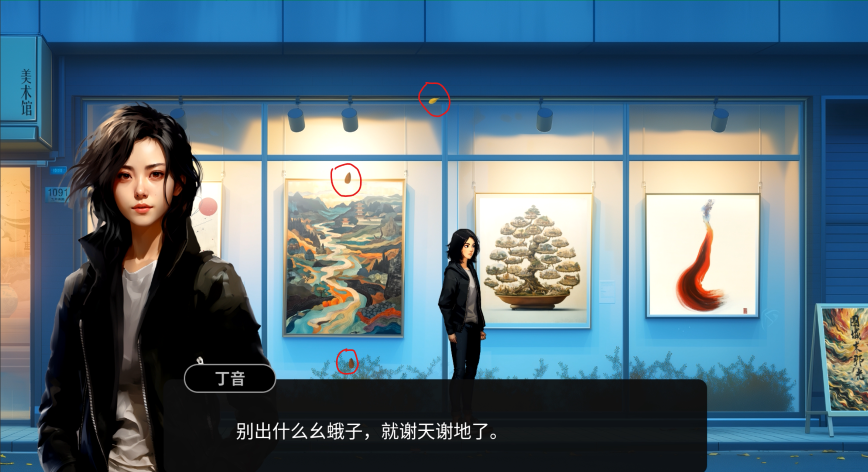
Another type of post-processing is particle effects, but they’re not very relevant to this scene. The falling leaves in the wind in the art gallery scene below are a common particle effect.
There are two obvious places in the seaside scene where visual effects can be added: one is the light beam effect of strong sunlight, and one is the sparkling light on the sea surface. Both have open-source Godot shader implementations: God rays and Cosine water. The latter is non-commercial licensed code, but I’m just using it as a placeholder for now and will replace it with something better later.
For those who don’t know what shaders are: this is a type of low-level visual effect program code written directly for the GPU, which can generate highly efficient geometric animation, like your screensaver. I personally have no interest in learning shaders, so I have Claude write them, and the results are quite good - often ready to use right away. I’ll talk more about this when writing the development log on AI-assisted coding.
The Cosine water implementation doesn’t consider the game’s 2.5D perspective effect and doesn’t provide precise adjustment options like animation speed, so I had Claude modify the source code from the above link, using the following prompt:
modify the below attached sea water reflection godot 4 shader so that (1) it has a parameter to control water reflection animation speed; (2) it has finer grain control of alpha value, instead of 0.1 step; (3) it has larger dynamic range control of the uv scale compared to current.
can you add some affine transformation/perspective effect, aka the bottom part of the shader has faster animation, while the top part has slower? also the reflection texture (uv scale) should be larger at bottom and smaller at top. you can give me two shader parameter min/max for the above two parameters.
Final test effect after adjustment (sunbeams + sea sparkles):
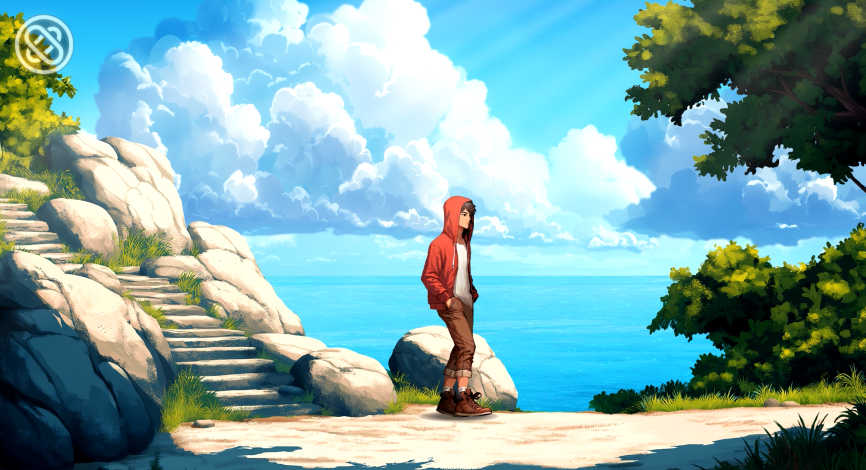
The actual parallax and animation effects can be seen in the last few dozen seconds of the video version.